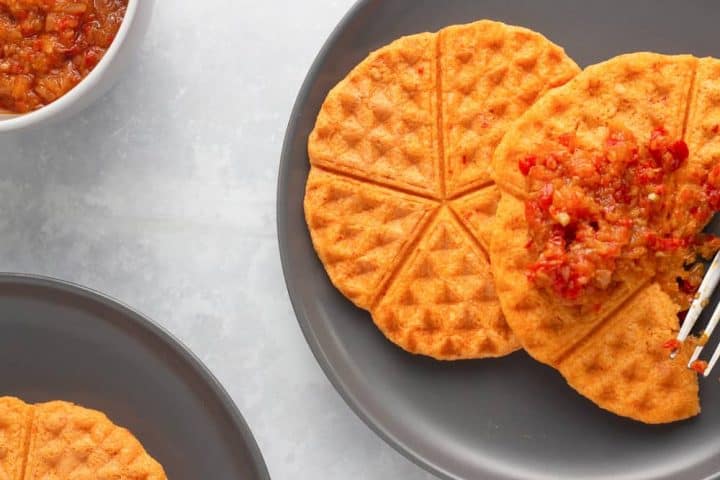
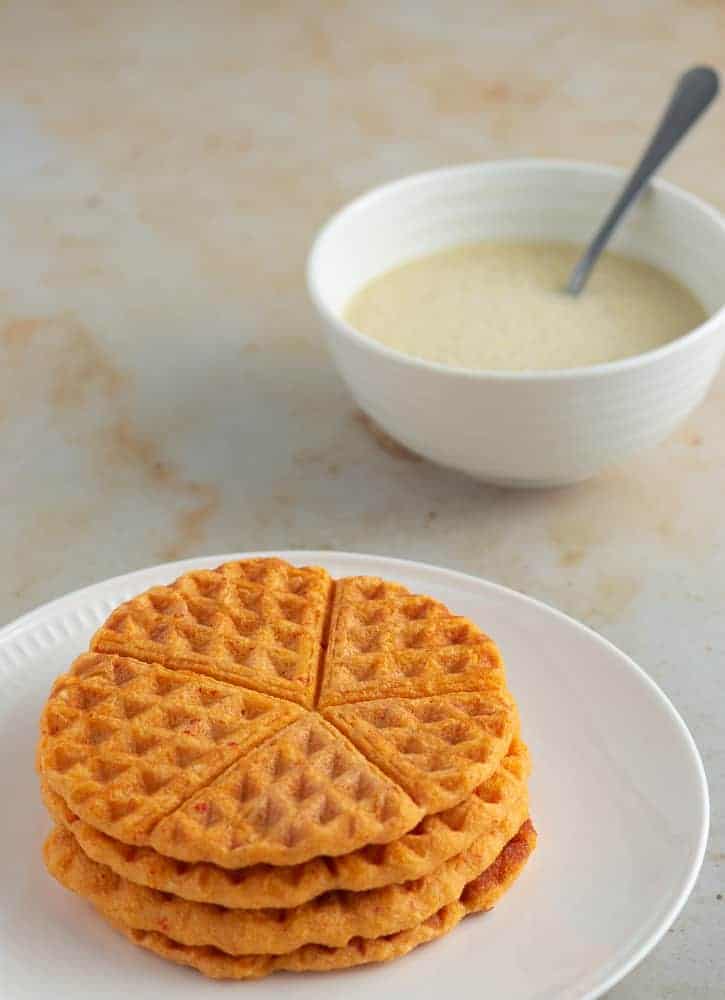
If you are looking to make a healthy Nigerian breakfast, then you must try akara waffle. It is a great way to enjoy delicious akara without frying.

The waffle maker is a piece of versatile kitchen equipment that could be used for a lot more than the occasional pancakes. You can use it for hash browns, quesadillas etc. It can also make Nigerian akara, which is nice and crispy outside, but soft inside.
What Is Akara?
Akara is a deep-fried bean fritter that is enjoyed across Nigeria and West Africa as a whole. Depending on where you are, it is also called bean cake, “koose” or “kosai”. It is typically eaten at breakfast with ogi/akamu (pap), kunnu or custard.
It is delicious served with fried yam and ata (pepper sauce), sandwiched between soft bread, accompanied with garri or eaten as a snack on its own. Akara is fried in small balls, making it easy to eat and it so delicious that you need a strong will not to eat most of it while frying.
This epitome of West African food is prepared with Nigerian brown beans or black-eyed beans. It is gluten-free, suitable for vegetarians and doesn’t require too many ingredients. Deep fried akara is rich in fibre from the wholesome ingredients used in its preparation. However, if you are looking to reduce oil intake or after healthier Nigerian dishes; then, akara waffle is perfect.
Why Use A Waffle Maker For Akara?
Using a waffle maker to make akara has the advantage that you are not deep frying the bean fritters. The oil used in the recipe was to prevent the waffle maker from sticking.
You also make a big piece at once, which is not as easy to snack on as the smaller balls; I have it as a meal on its own with pepper sauce. Finally, you can make more than you need to keep in the fridge for a few days. It works perfectly as packed lunch too.

Nigerian Akara Waffle Recipe
Here are the ingredients you need…
Nigeria Brown beans or black eye beans
Onion
Bell pepper
Scotch bonnet pepper
Egg
Salt
Oil (for greasing)
A few notes about the ingredients...
Scotch bonnet: This adds heat to the recipe, but you can omit or use milder pepper depending on your heat tolerance.
Beans: I prefer to peel beans for akara, but if you don’t, that’s fine. Just soak the beans in water for 30 mins before blending. You can also buy already peeled dry beans to make this akara recipe. You will need to soak at least an hour to rehydrate before blending. One cup of dry beans should yield about two cups when soaked and will make between 6-8 waffle
Onions – Most akara recipes call for chopped onions to be added to the batter. I didn’t add any to my batter because the onion will not be cooked to my liking (I like well cooked, soft onions in food). You can add it to yours if you prefer.
How To Make It
Pick the beans and soak in water for at least 30 minutes.
Peel the beans in your preferred way. An easy way is to use a blender to pulse the beans as shown here.
Peel the onion and cut it into quarters. Remove the stalk from the bell pepper and the scotch bonnet.
Tear the bell pepper into smaller pieces and add into the blender with the onion, scotch bonnet and the peeled beans. Add ½ cup of water. Puree until you have a smooth paste.
Do not add more than the recommended quantity of water, or the akara will not hold its shape.
Break an egg, beat and keep to one side.
Pour the blended mixture into a bowl, add some salt and a tablespoon of the egg. Mix thoroughly with a whisk or a fork.
Switch on the waffle maker at a low setting (I used the “2” setting on mine) and allow it to heat up. You need a low setting to allow the akara the time to cook properly.
Oil the surfaces by soaking up some kitchen roll with oil and rubbing it on the waffle iron surface.
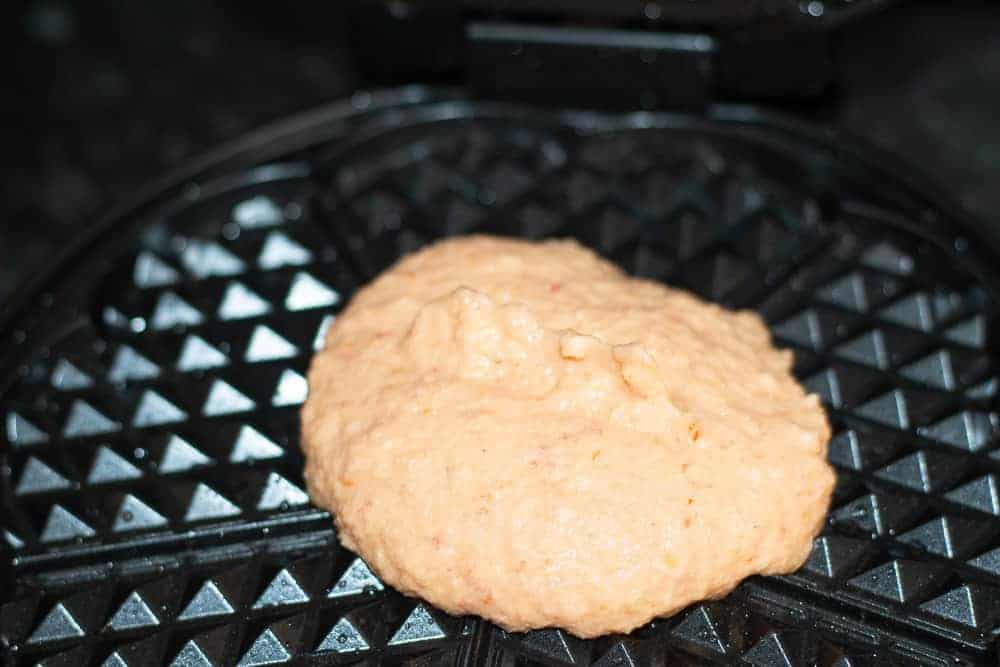
Scoop the mixture into the waffle maker and close. Allow to cook for at least 1 min.

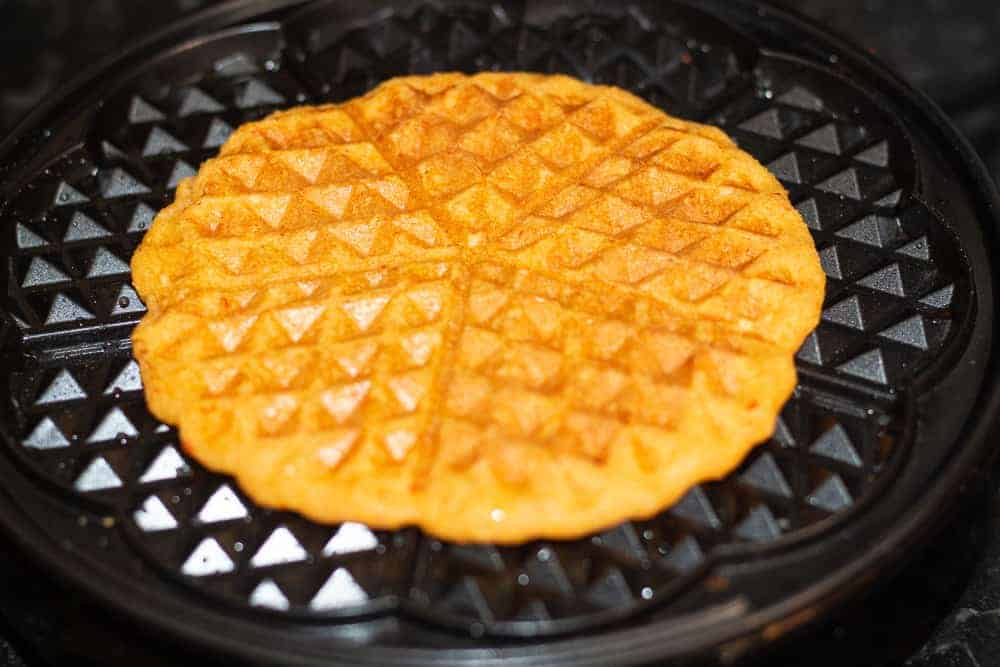
Switch off the waffle maker and leave the akara for another minute before you open the waffle maker. Remove gently.

You will need to oil the waffle maker after each akara to prevent sticking. The way to do this is to soak up some tissue with oil and rub it on the waffle surface.
I must warn you that making akara waffle is not as quick as frying many fritters in a pan at the same time; however you can make bigger pieces, which helps.
Recipe FAQ
The main challenge with making akara in a waffle is that when you open the waffle maker, the akara sticks, and you have two bits, one on the top surface and the other on the lower surface. This is why you need to allow at least a minute of rest time before removing it so you can bring it out as one whole.
Peeling is the most tedious part of making akara or moimoi; and I recommend peeling more than you need. Peeled beans will keep in the freezer for at least a month. Make sure you pack in portions so you only bring out the portion you need at a time. Then, allow to thaw before blending.
Related Recipes
Other Nigerian beans recipes you should try;
If you are looking for other delicious, Nigerian inspired recipes, then you must check out my e-book "25 from 30". Here, I created 25 tasty original recipes with 30 ingredients, most of which you will find in a Nigerian kitchen like yam, beans, rice, plantain etc.

Nigerian Akara Waffle
Ingredients
- 1 cup Brown beans or black eye beans
- 1 Onion Medium size
- 1 Bell pepper small
- 1 Scotch bonnet pepper
- ½ cup Water for blending – ½ cup
- 1 Egg
- Salt to taste
- Oil to grease waffle maker
Instructions
- Pick the beans and soak in water for at least 30 minutes.
- Peel the beans according to your preferred method (see the link on the notes).
- Peel the onion and cut it into quarters. Remove the stalk from the bell pepper and the scotch bonnet.
- Tear the bell pepper into smaller pieces and add into the blender with the onion, scotch bonnet and the peeled beans. Add ½ cup of water. Puree until you have a smooth paste.
- Do not add more than the recommended quantity of water, or the akara will not hold its shape.
- Break an egg, beat and keep to one side.
- Pour the blended mixture into a bowl, add some salt and a tablespoon of the egg. Mix thoroughly with a whisk or a fork.
- Switch on the waffle maker at a low setting (I used the “2” setting on mine) and allow it to heat up. You need a low setting to allow the akara the time to cook properly.
- Oil the surfaces by soaking up some kitchen roll with oil and rubbing it on the waffle iron surface.
- Scoop the mixture into the waffle maker and close. Allow to cook for at least 1 min.
- Switch off the waffle maker and leave the akara for another minute before you open the waffle maker. Remove gently.
- You will need to oil the waffle maker after each akara to prevent sticking. The way to do this is to soak up some tissue with oil and rub it on the waffle surface.
Nutrition
Other breakfast recipes to try are;

It's amazing. Thanks for sharing.
Thanks for stopping by Dima.
Abi I have to he similar problem as yourself when I mix onion into an otherwise conglomerate l Iike meat balls. The taste doesn't turn out right. My suggestion is to mince the onions then nux with oil and Cook the onions separately. After the onions are cooked and cooled mix them into the bean mix
That's a good idea. Will try it next time. Thank you.
Thanks for sharing
Thank you
Lovely idea
Can I use my normal toasting machine to make this akara
Hi. I've not tried to use a toaster for this recipe. The waffle maker works because it is designed to cook dough anyway. However, please give it a try! Use a little quantity to avoid spillage; the worst that would happen is that your toaster becomes messy and requires cleaning. On the flip side, it could work and you would have a new way to make akara. If you give it a try, please let me know how it goes.
I did this with a normal toaster and it works perfectly. Although it was browned a bit probably because I left it too long but it does work. Thanks !!!
I'm glad this worked with a regular toaster. Thanks for the feedback Kenny.
Thanks for this recipe. I have a wafflemaker sitting in my store for 13years now I can make use of it. What is the work of the egg used in the recipe? Does the whole mixture need only one tablespoon of egg?